在Conflux上使用Hardhat创建和部署CRC721 NFT
本教程将指导您如何使用Hardhat在 Conflux CoreSpace 上创建、编写和部署一个 CRC721 NFT 智能合约 此外,它还将向您展示如何在ConfluxScan上查看您的合约。
如果您不熟悉 Hardhat,请参考 Hardhat 文档。
前提条件
在开始之前,请确保您具备以下条件:
- 您的电脑上已经安装Node.js。
- 文本编辑器,比如Visual Studio Code。
- 对智能合约开发和Solidity编程语言有基本的了解。
第1步:设置您的环境
首先,您需要设置您的开发环境:
mkdir conflux-nft-crc721
cd conflux-nft-crc721
npm init -y
npm install --save-dev hardhat
现在,运行以下命令来创建一个Hardhat项目:
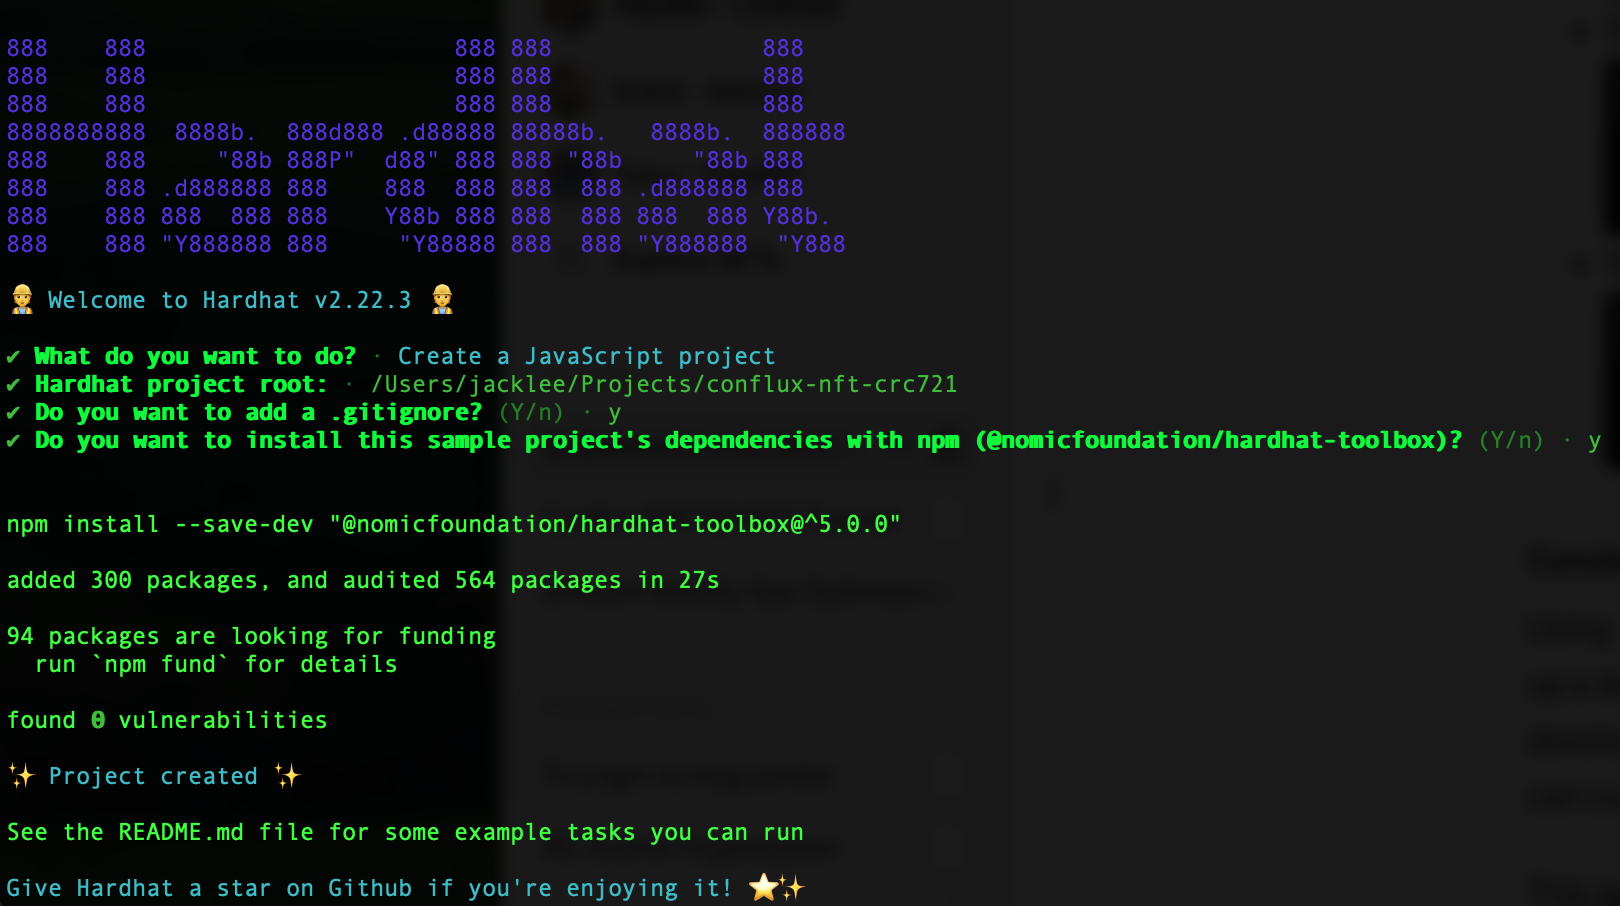
npx hardhat
在提示时,请在所有问题上按Enter键选择默认项目设置。 这将创建一个带有所有必要配置的基本Hardhat项目设置。 设置完成后,您的项目目录应该包括Hardhat配置文件。
步骤2: 安装相关程序
安装OpenZeppelin合约,它提供了ERC721代币的安全、经审计的实现;安装Hardhat-Conflux-Plugin,该插件建立在js-conflux-sdk之上的,使得部署和交互用法与js-conflux-sdk非常相似:
npm install @openzeppelin/contracts hardhat-conflux js-conflux-sdk
有关Hardhat-Conflux-Plugin的更多信息,请参阅Hardhat Conflux Plugin教程。 To learn more about the JS-Conflux-SDK, please visit the JS-Conflux-SDK Documentation.
第3步:编写智能合约
在contracts文件夹中创建一个名为ConfluxCRC721NFT.sol的新文件,并添加以下Solidity代码:
// SPDX-License-Identifier: MIT
pragma solidity ^0.8.24;

import "@openzeppelin/contracts/token/ERC721/extensions/ERC721URIStorage.sol";
import "@openzeppelin/contracts/access/Ownable.sol";

contract ConfluxCRC721NFT is ERC721URIStorage, Ownable {
    uint256 public nextTokenId;

    constructor(
        string memory name_,
        string memory symbol_
    ) ERC721(name_, symbol_) Ownable(msg.sender) {}

    function mint(address to, string memory uri) public onlyOwner {
        _safeMint(to, nextTokenId);
        _setTokenURI(nextTokenId, uri);
        nextTokenId++;
    }
}
这个合约使用了OpenZeppelin的ERC721URIStorage和Ownable合约,来创建一个只有合约所有者可以铸造的NFT。
第4步:配置Hardhat
编辑hardhat.config.js,添加Conflux网络配置:
require("@nomicfoundation/hardhat-toolbox");
require("hardhat-conflux");

const PRIVATE_KEY = "YOUR_PRIVATE_KEY_HERE";

/** @type import('hardhat/config').HardhatUserConfig */
module.exports = {
  solidity: "0.8.24",
  defaultNetwork: "cfxTestnet",
  networks: {
    cfx: {
      url: "https://main.confluxrpc.com",
      accounts: [PRIVATE_KEY],
      chainId: 1029,
    },
    cfxTestnet: {
      url: "https://test.confluxrpc.com",
      accounts: [PRIVATE_KEY],
      chainId: 1,
    },
  },
};
将YOUR_PRIVATE_KEY_HERE替换为您的私钥。
第5步:部署合约
在scripts文件夹中创建一个名为deploy.js的部署脚本:
const hre = require("hardhat");

async function main() {
  const signers = await hre.conflux.getSigners();
  const defaultAccount = signers[0];

  const ConfluxCRC721NFT = await hre.conflux.getContractFactory(
    "MerkleTreeNFT"
  );
  const receipt = await ConfluxCRC721NFT.constructor("Confi", "Confi")
    .sendTransaction({
      from: defaultAccount.address,
    })
    .executed();

  console.log(
    `Contract deployment ${
      receipt.outcomeStatus === 0 ? "succeeded" : "failed"
    }`
  );

  console.log("MerkleTreeNFT deployed to:", receipt.contractCreated);
}

main()
  .then(() => process.exit(0))
  .catch((error) => {
    console.error(error);
    process.exit(1);
  });
通过运行以下命令部署合约:
npx hardhat run scripts/deploy.js --network cfxTestnet
Step 6: Minting an NFT
要铸造一个NFT,您可以使用一个直接与您的智能合约中的 mint函数交互的脚本。 这个脚本将把一个NFT铸造到指定地址。
在scripts文件夹中创建另一个脚本,命名为mintNFT.js:
这个脚本会设置了特定代币的URI,其中YOUR_CONTRACT_ADDRESS是您部署的NFT合约的地址,NFT_RECEIVER_ADDRESS是您想要铸造 NFT 的地址。
const hre = require("hardhat");

async function main() {
  const signers = await hre.conflux.getSigners();
  const defaultAccount = signers[0];

  const contractAddress = "YOUR_CONTRACT_ADDRESS";
  const recipientAddress = "NFT_RECEIVER_ADDRESS"; // Address to receive the NFT
  const tokenURI =
    "https://raw.githubusercontent.com/conflux-fans/dual-space-nft-metadata/main/2023040104"; //  Replace the example tokenURI with the actual metadata URI for the NFT

  const ConfluxCRC721NFT = await hre.conflux.getContractAt(
    "ConfluxCRC721NFT",
    contractAddress
  );

  const receipt = await ConfluxCRC721NFT.mint(recipientAddress, tokenURI)
    .sendTransaction({
      from: defaultAccount.address,
    })
    .executed();

  console.log(
    `Minted NFT to ${recipientAddress}: Transaction Hash: ${receipt.transactionHash}`
  );
}

main().catch((error) => {
  console.error(error);
  process.exit(1);
});
将YOUR_CONTRACT_ADDRESS替换为您的合约地址,将RECIPIENT_WALLET_ADDRESS替换为接收NFT的钱包地址。
这些步骤和脚本允许你通过Hardhat脚本直接管理你的NFT的生命周期,从铸造到设置元数据。 调整两个脚本中的 tokenURI,以匹配您的NFT的元数据位置。
成功部署后,您将看到以下信息

第7步:在ConfluxScan上查看您的合约
After deploying your contract, go to ConfluxScan, enter your contract address in the search bar, and you can view your contract's details, transactions, and more.
如果您希望使用Hardhat验证您的合约,请参考本文。
第8步:赞助您的合约(可选)
Conflux实现了赞助机制,来补贴智能合约的使用。 If you want to get your contract sponsored, please refer to the following articles:
结论
本指南提供了使用Hardhat在Conflux CoreSpace上创建、部署和管理CRC721 NFT的逐步过程。 按照这些步骤,您可以在Conflux coreSpace上启动自己的NFT项目。